If you’re looking for a way to step off the beaten path and experience some of Wellington’s most stunning natural scenery, the Baring Head Lighthouse Walk offers just that. While I haven’t personally taken this tour, I’ve researched it thoroughly and can confidently say this experience combines breathtaking vistas with a touch of history—ideal for travelers craving authentic outdoor adventure.
What makes this tour particularly appealing are the panoramic views across Cook Strait, which are truly awe-inspiring, and the chance to explore historic WWII bunkers along the trail. The well-organized itinerary and inclusion of transportation make it accessible, but a few considerations like walking durability and weather preparedness are worth keeping in mind.
This experience suits those who enjoy outdoor excursions, hiking, and history buffs eager to connect with New Zealand’s rugged coastline. It’s a perfect outing for active travelers who appreciate natural beauty and want a meaningful, less commercialized activity in Wellington.
- Key Points
- The Journey Begins: An Overview of the Tour
- The Walk to Baring Head Lighthouse
- Shorter Option: The Direct Path
- Longer Loop: Richer Experience
- Highlights Along the Trail
- Practical Details and What to Expect
- Authentic Experiences and Visitor Feedback
- Who Will Love This Tour?
- The Sum Up
- Frequently Asked Questions
- More Tour Reviews in Wellington
Key Points
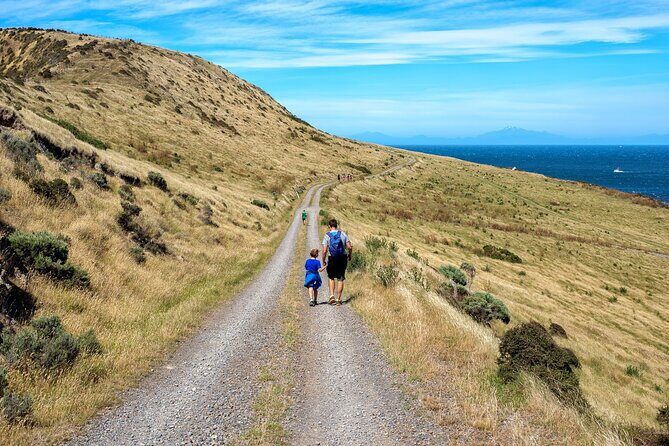
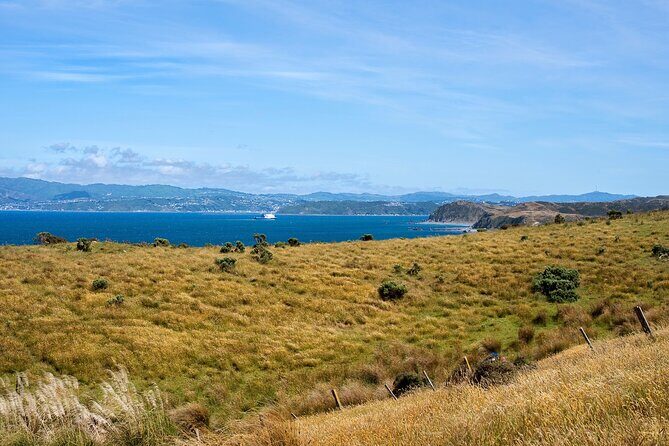
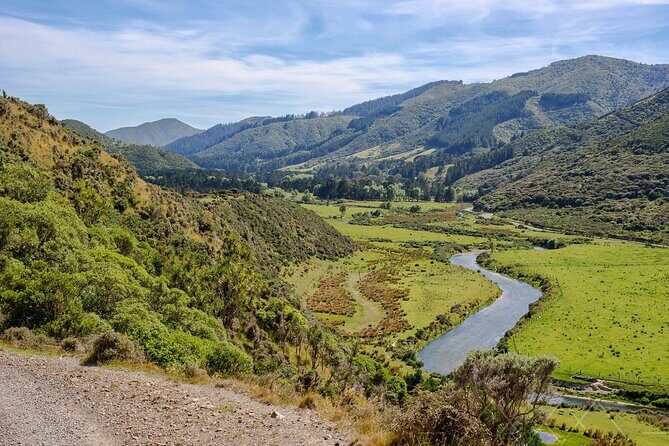
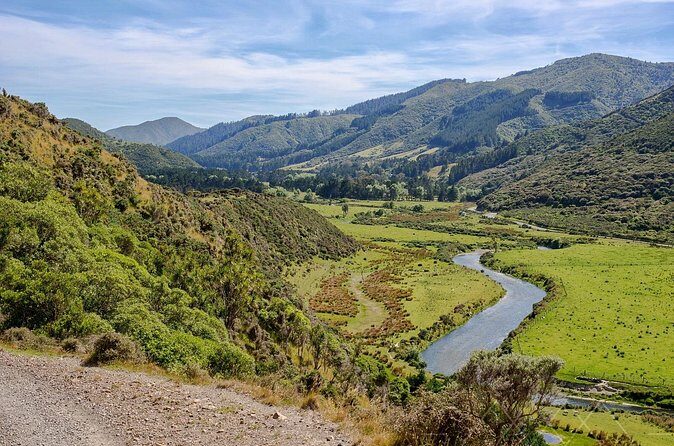
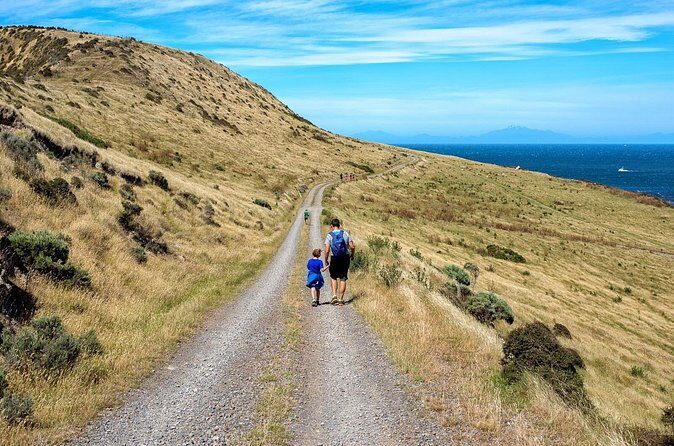
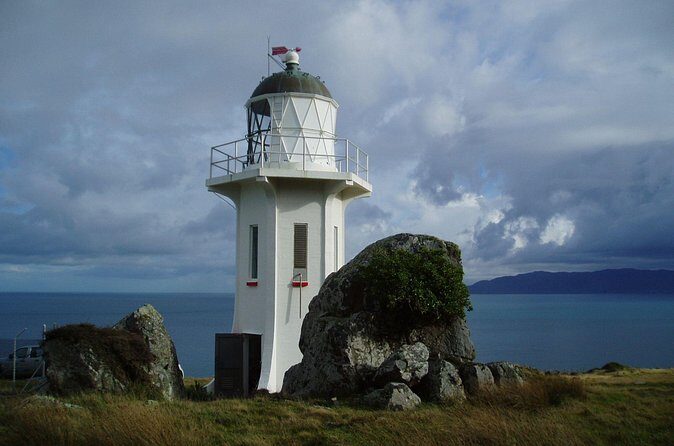
- Stunning Coastal Views: Expect panoramic vistas over Cook Strait and distant mountain ranges.
- Historical Significance: WWII bunkers and lighthouse history add depth to the walk.
- Accessible with Guided Support: Transportation and a small group setting help make the experience manageable.
- Variety of Walk Options: Choose between a shorter 1-hour walk or a longer, more immersive 3-4 hour loop.
- Eco and Heritage Restoration: Ongoing efforts to restore and develop visitor facilities enhance the site’s appeal.
- Practical Details: Moderate fitness needed, sturdy footwear recommended, and weather preparedness advised.
The Journey Begins: An Overview of the Tour
The adventure kicks off in Wellington, with a comfortable air-conditioned vehicle that whisks you from Wakefield Street, passing iconic landmarks like the Beehive—the centerpiece of Wellington’s government buildings. As we travel along State Highway 1 and then Highway 2, the coastline unfolds in front of us, an ever-changing tableau of sea, cliffs, and green hills.
The route takes us past Wellington Harbour toward Petone, along the esplanade, and finally into the lush valley of Wainuiomata, famous for its sporting legends like Tana Umaga and Piri Weepu. The drive itself is a scenic introduction to the area’s rugged charm, setting the tone for the outdoor walk ahead.
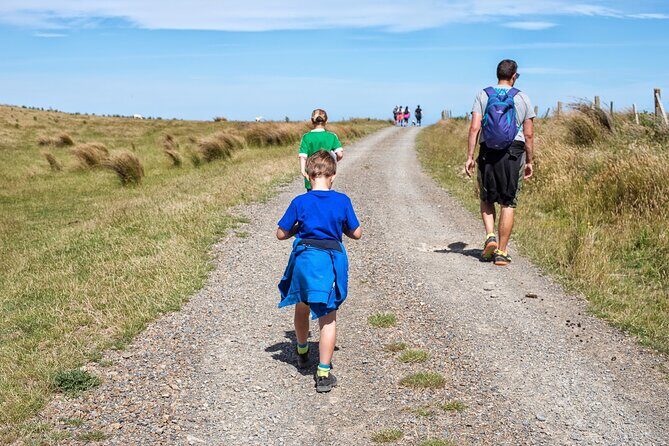
Once at the Wainuiomata car park, the real highlight begins: a choice between a short, 1-hour walk directly to the lighthouse or a longer, 3-4 hour loop covering 6.5 to 8 kilometers. The longer route takes you through diverse terrain, offering more opportunities to soak in the scenery and explore historic remnants.
You can also read our reviews of more tours and experiences in Wellington.


The Walk to Baring Head Lighthouse
Shorter Option: The Direct Path
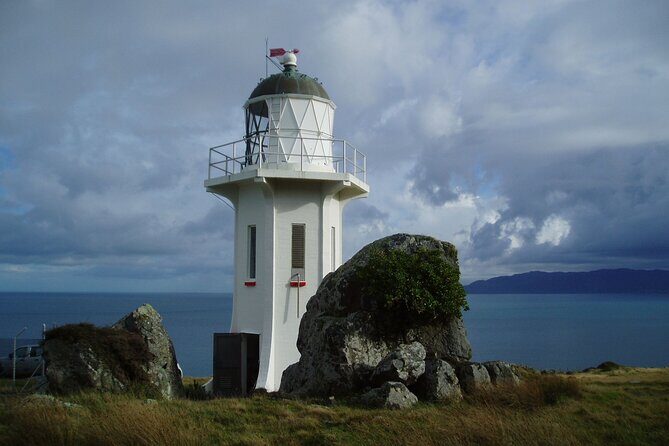
If time or energy is limited, the 1-hour walk each way is a straightforward route to the lighthouse. It’s ideal for those who want a taste of the coastal landscape without a strenuous hike. You’ll reach the lighthouse, a 12.2-meter-tall beacon, powered by a solar-powered LED, standing proudly on the headland.
This lighthouse isn’t just a beacon for ships; it’s a symbol of maritime safety and a piece of New Zealand’s navigational history. From the vantage point, you’ll get sweeping views of the ocean and mountains, perfect for photos or simply soaking in the vastness of the landscape.
Longer Loop: Richer Experience
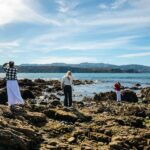
For those craving a more immersive outing, the grand loop is well worth the 3-4 hours. It covers a distance of about 6.5 to 8 km and includes a variety of terrain—rocky sections, grassy slopes, and coastal paths. Along the way, you’ll pass through areas with WWII-era bunkers, giving a tangible sense of the area’s strategic importance during wartime.
The trail’s elevation and varied footing mean sturdy footwear is a must, and the experience is rewarding for those with moderate physical fitness. We read from reviews that “walking on stones can be challenging,” so don’t forget your hiking shoes.
Highlights Along the Trail
Historical Sites: The WWII bunkers and old lighthouse keepers’ cottages are more than just relics; they tell stories of a bygone era. Restorations are ongoing, and the plan to turn the old powerhouse into a visitor center promises to make this area even more educational.
Geological Formations: The coastline features unique geological features, shaped by volcanic activity and erosion over thousands of years. These formations add a fascinating dimension to the walk, especially for geology enthusiasts.
Ecological Restoration: The area is part of a conservation effort, with ongoing work to restore native flora and fauna. You might see native plants and birds, making this a small but meaningful contribution to ecological preservation.

Practical Details and What to Expect
Price: At $74.47 per person, the tour offers good value considering transportation, guided commentary, and entrance fees are included. The price reflects a well-organized experience with group discounts available, making it accessible for families or solo travelers alike.
Duration: Expect about 5 to 6 hours in total, including travel, walking, and a quick stop for coffee or tea near the end. The flexible timing allows for a leisurely pace and comfort.
Transportation: An air-conditioned vehicle ensures a comfortable journey, and pickup from the meeting point in Wellington helps streamline your day.
What’s Included: Bottled water, admission fee, and the option to buy a snack or coffee at the end make it simple to plan your day.
What to Bring: Sturdy footwear is essential—think hiking shoes or sturdy sneakers—and dress for changeable weather. Windy conditions are common, so having a jacket or layers is advisable.
Physical Fitness: A moderate level of fitness is recommended; you’ll be walking on uneven stones and varied terrain. If you have mobility concerns, sticking to the shorter route might be best.
Authentic Experiences and Visitor Feedback
Though the tour currently has no reviews, the descriptions and planned restoration efforts suggest that this experience is both educational and scenic. The fact that it is a private tour means your group will enjoy personalized attention, and the flexibility to explore at your own pace.
Travelers who appreciate history often comment on the evocative nature of WWII bunkers, describing them as “a glimpse into wartime past that feels surprisingly tangible.” Others love the panoramic views, noting it’s a “spectacular spot for photos and quiet reflection.”
Who Will Love This Tour?
This walk is ideal for active travelers who want more than just city sights. Nature lovers, history buffs, and those interested in conservation will find plenty to enjoy. It’s suitable for families with older children capable of moderate outdoor activity, as well as solo explorers seeking a peaceful escape.
If you’re after a quick, scenic stroll, the short route works perfectly. For those eager to stretch their legs and explore more deeply, the longer loop offers a memorable day out.
The Sum Up
The Baring Head Lighthouse Walk offers a chance to connect with Wellington’s coast in an authentic and meaningful way. With stunning views, historical remnants, and ongoing restoration projects, it combines natural beauty with cultural significance. The experience is well-paced for active travelers who enjoy outdoor exploration but also value the story behind the scenery.
For those who love scenic hikes, a touch of history, and ecological awareness, this tour delivers a rewarding outing at a fair price. It’s particularly suitable for visitors who want a flexible, guided adventure that showcases the rugged charm of New Zealand’s southern coast.
While weather can be unpredictable—so come prepared—you’ll leave with a deeper appreciation of Wellington’s maritime heritage and stunning landscape.
Baring Head Lighthouse Wainuiomata
Frequently Asked Questions
How long does the tour last?
The entire experience takes about 5 to 6 hours, including travel time, walking, and a quick stop for refreshments.
Is transportation included?
Yes, the tour includes air-conditioned transportation from Wellington and back, making it hassle-free.
What are the walking options?
You can choose between a 1-hour walk directly to the lighthouse or a longer 3-4 hour loop covering 6.5 to 8 km.
What should I wear?
Sturdy footwear is essential, and dressing in layers is wise due to variable weather conditions. A jacket might be necessary if it’s windy.
Are there any historical sites on the route?
Yes, WWII bunkers and the lighthouse itself are key points of interest, with ongoing restoration work to enhance visitor understanding.
Does the tour accommodate mobility issues?
The shorter route may be more suitable for those with limited mobility, but the longer loop involves uneven terrain.
Is the tour family-friendly?
Yes, provided children are capable of moderate walking. It’s a great activity for active families or those interested in nature and history.
Embark on this scenic coastal walk and discover a side of Wellington that combines natural beauty with a hint of history—an outing you’ll remember long after the day is done.